![FullLogo-2019-1-e1576087441910.png]](https://hubspot.stayfi.com/hs-fs/hubfs/FullLogo-2019-1-e1576087441910.png?height=50&name=FullLogo-2019-1-e1576087441910.png)
Table of Contents
Define your Brand Preferences
Upload your logo and define your company website and social media links. These will be used by default for all properties. You can later override these values for a specific property.
To set up your Brand Elements:
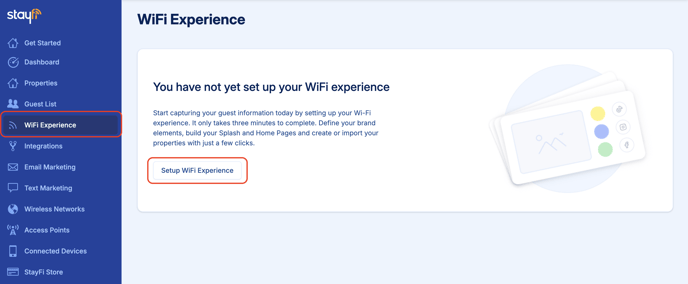
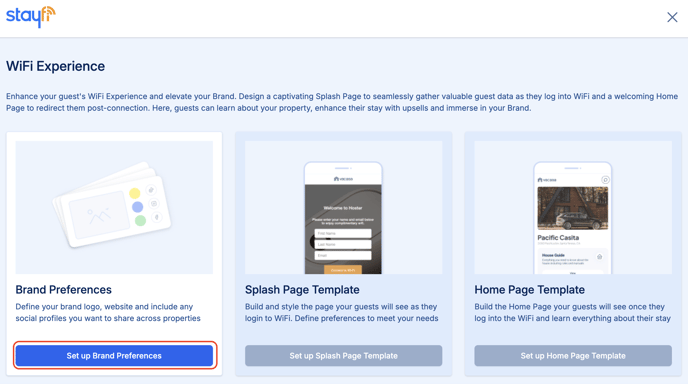
- Navigate to the "WiFi Experience" page on the left menu and click “Setup WiFi Experience”. On the Brand Preferences card on the left, click “Set up BrandPreferences”
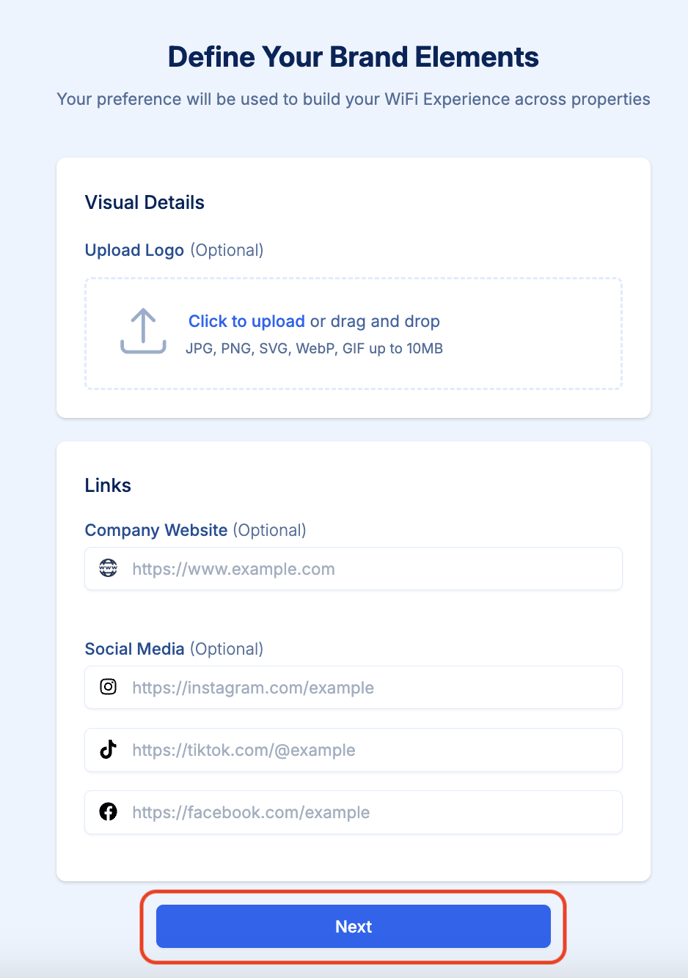
- Customize your brand preferences including logo, company website, and social media links.
- When you're done making edits, click the "Next" button at the end of the page.
Set up your Splash Page Template
The splash page automatically appears the first time guests connect to your WiFi network. This is where we collect information like name, email, and other optional fields from every guest. Customize the splash page to highlight your unique brand and improve the guest experience.
Your Splash Page Template will be used by default for all properties, but you will have the opportunity to override the values for each property. We recommend you set your Template to match your most common branding so that you minimize the amount of manual overrides.
To set up your Splash Page Template:
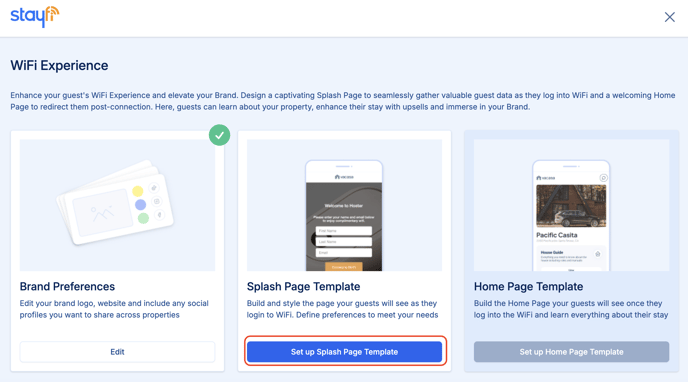
- Navigate to the "WiFi Experience" page on the left menu. On the Splash Page Template card in the middle, click “Set up Splash Page Template”
- As you customize your Splash Page Template you’ll see a live preview in the panel on the right. You can view a mobile or desktop version by using the two buttons above the preview window.
- We always ask guests for their first name, last name, and email. You can require additional fields like phone number, date of birth, and marketing consent box.
- You can insert dynamic content in the Header and Body Text fields. These will be replaced with the actual Name or Group of each property. If you decide to use dynamic content, you will need to provide a fallback value.
- When you're done making edits, click the "Next" button at the end of the page.

The following settings can only be edited at the template level and will apply to all properties:
- Require Phone Number
- Show Marketing Consent Checkbox
- Age Requirement
Set up your Home Page Template
Your guests will be automatically redirected to the Home Page after connecting to your WiFi network. It is a place where your guests can keep interacting with your brand and access all the relevant information about their stay through dedicated tiles: guidebook, listing url, company website, upsell opportunities, and more.
Your Home Page also exists as a standalone webpage, and you can make it accessible to your guests through QR codes or by sending them the URL by email and text message, before, during and after the stay.
In your Home Page Template, you can decide which tiles you want to show and in which order. You will define the exact content of the tiles for each property later.
To set up your Home Page Template:
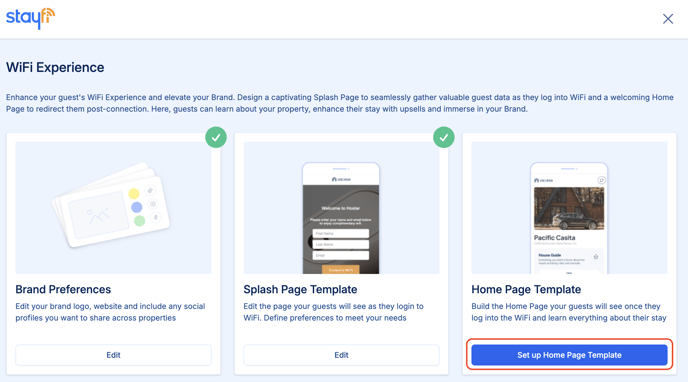
- Navigate to the "WiFi Experience" page on the left menu. On the Home Page Template card on the right, click “Set up Home Page Template”
- As you customize your Home Page Template you’ll see a live preview in the panel on the right. You can view a mobile or desktop version by using the two buttons above the preview window.
- Decide what tiles and buttons you want to show on your Home Page. You can change the order by using the arrows on the right of each tile.
- Later, you will input the content of the tiles for each property. If there is a tile that you do not want to show for certain properties, you will be able to hide it for just that property by not assigning it any content.
- To add a custom button, click on “Add Custom Button +”. You must provide a display name, a short description, and choose an icon. You will be able to assign links or upload documents for these buttons for each property. To delete a custom button, click on the trash can icon at the bottom-right corner.
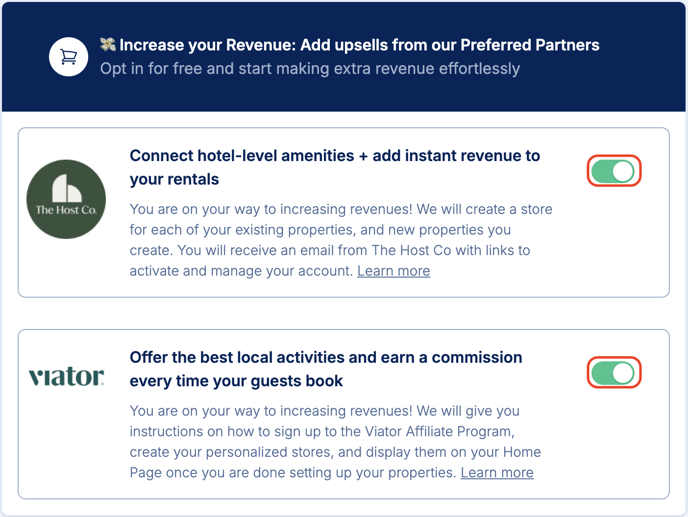
- You can add upsell opportunities to your Home Page through our partners and earn extra revenue from your reservations. If you want to add a tile from any of our partners to your Home Page, toggle it on here and we will either handle it for you or guide you through it. You can learn more about our partners here:
- When you're done making edits, click the "Next" button at the end of the page.
WiFi%20Exp%205.png?width=655&height=897&name=Create%20Home%20Page%20Template%20(In%20App)WiFi%20Exp%205.png)