Zapier Integration
How to Connect StayFi to your Zapier Account
Zapier is a workflow automation tool that connects different apps and services to automate repetitive tasks and workflows. By connecting Zapier to your StayFi account you can trigger workflows anytime a guest logs into your WiFi network.
Table of Contents
Pushing Guest Data From StayFi to Zapier
Connecting Zapier to StayFi
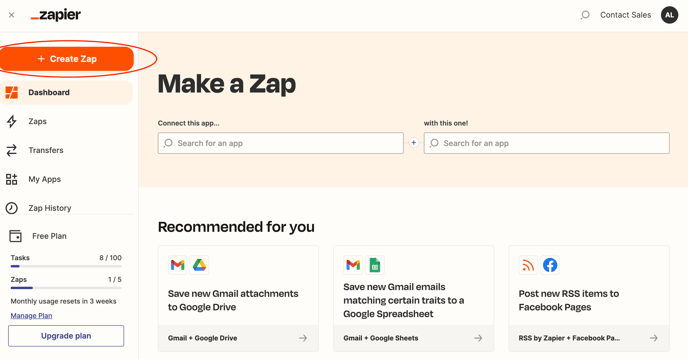
1. Create a Zap
In your Zapier account, create a new Zap.
2. Select StayFi as the Trigger App
On the first step it will ask you to select a trigger. Search for "StayFi" and click on it in the results list that pops up.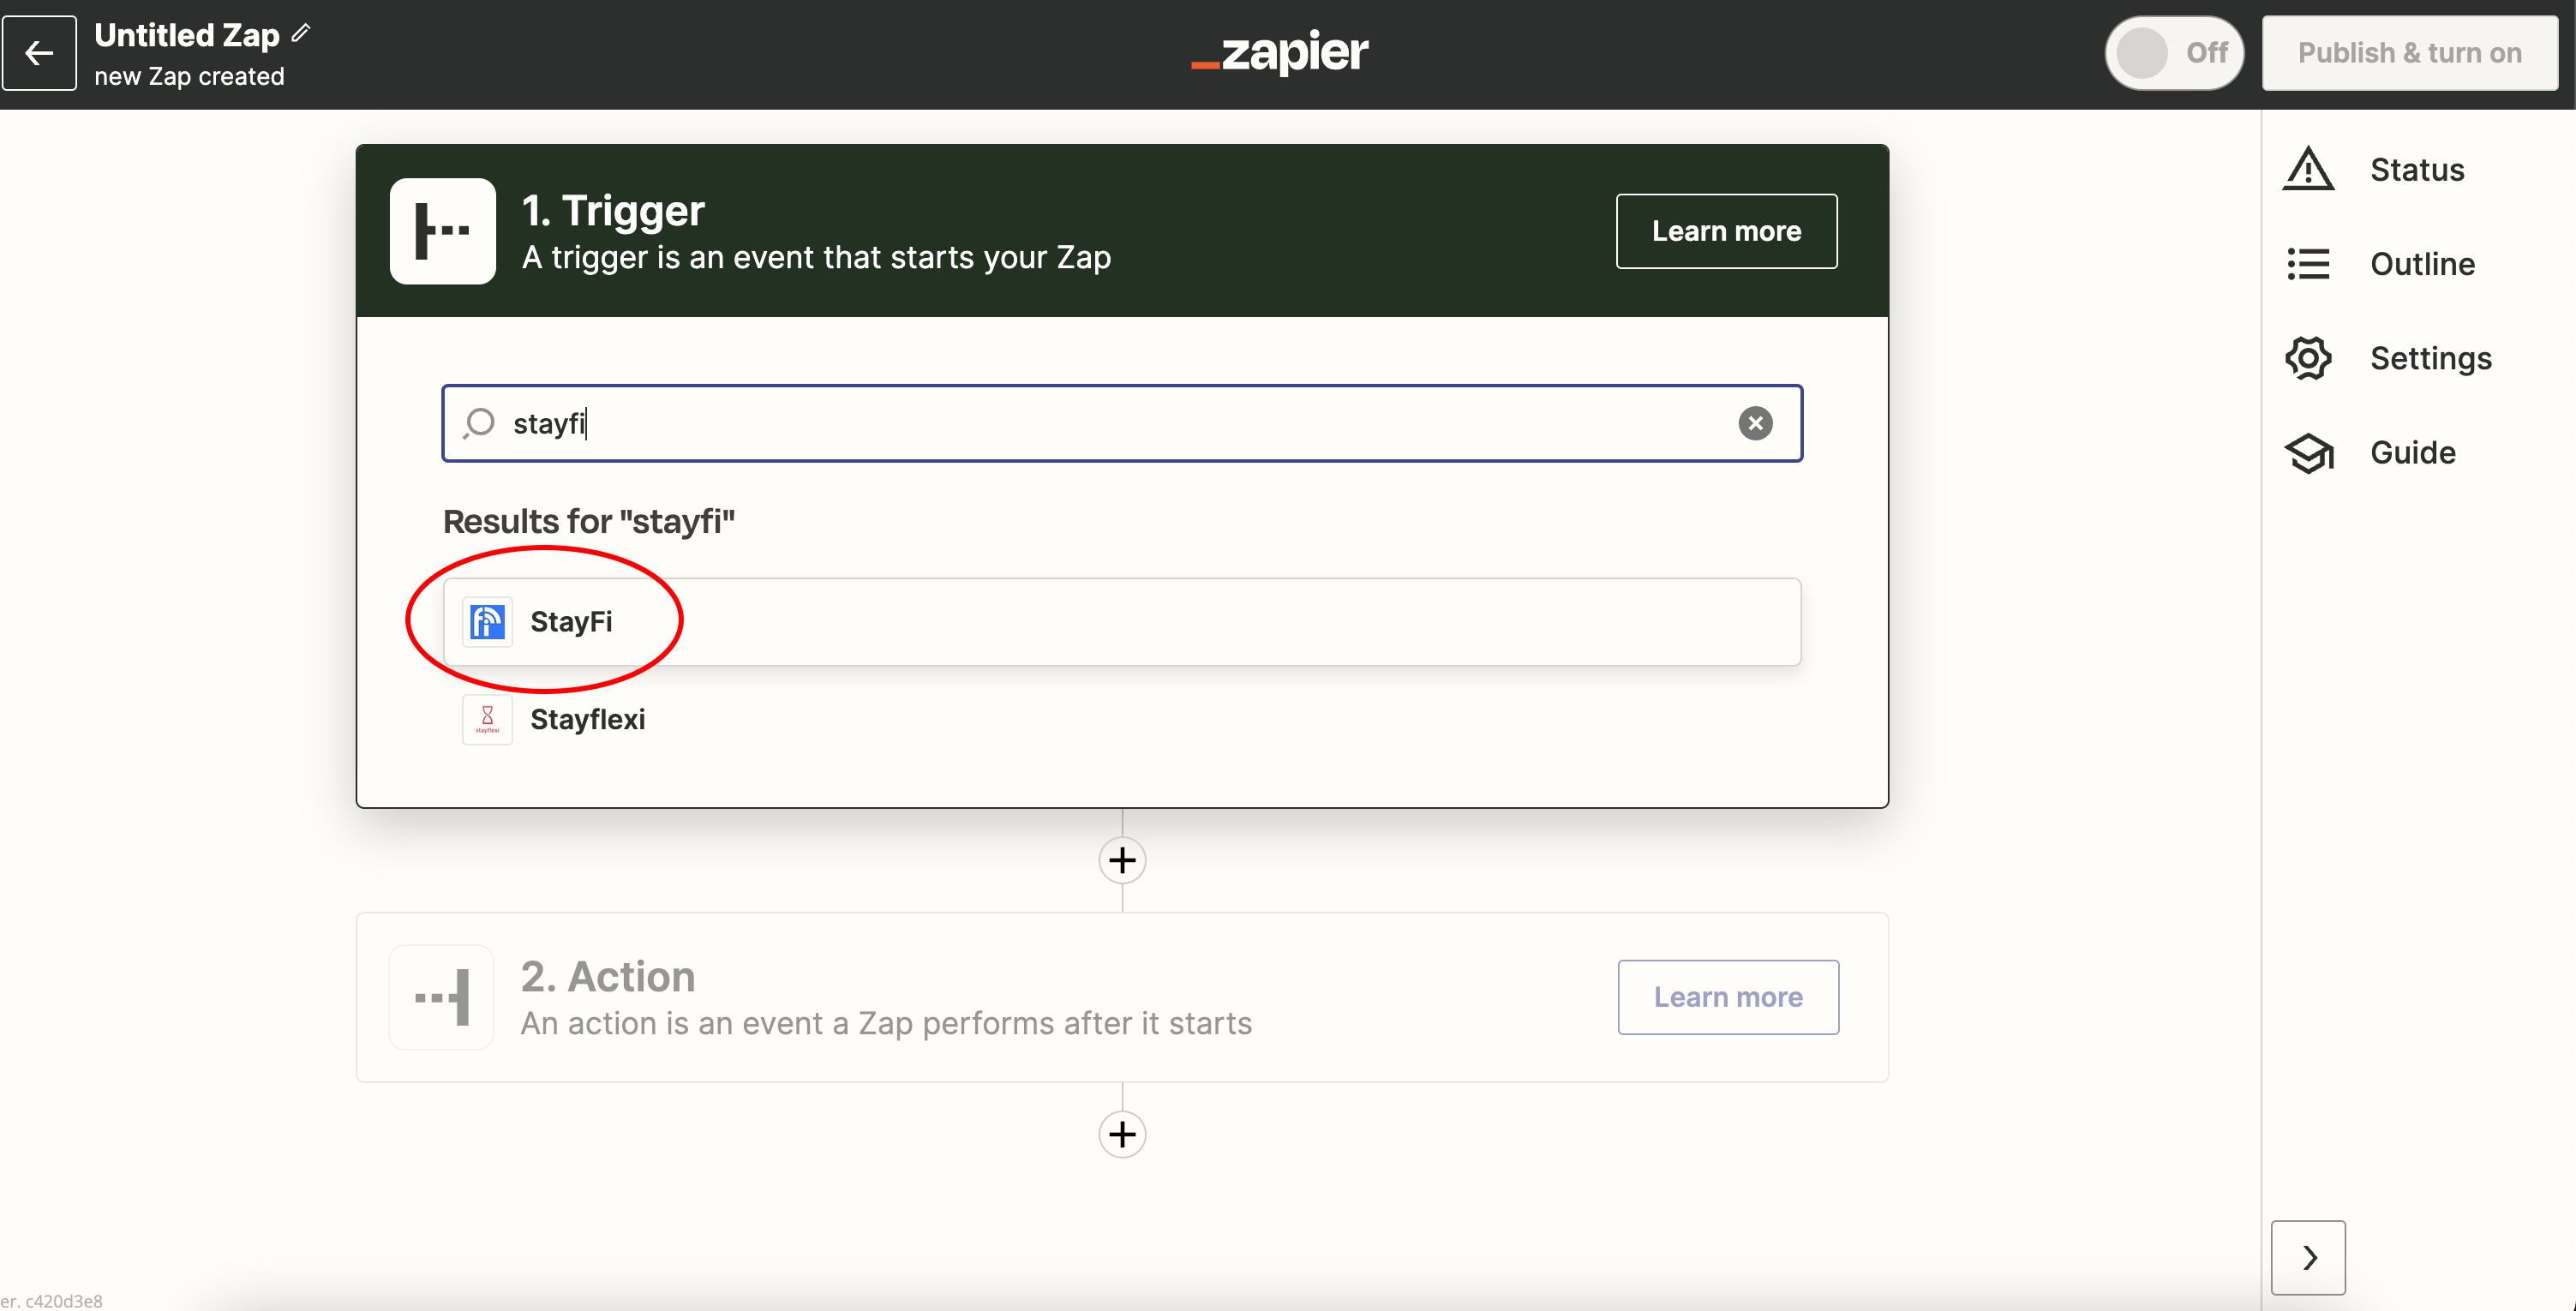
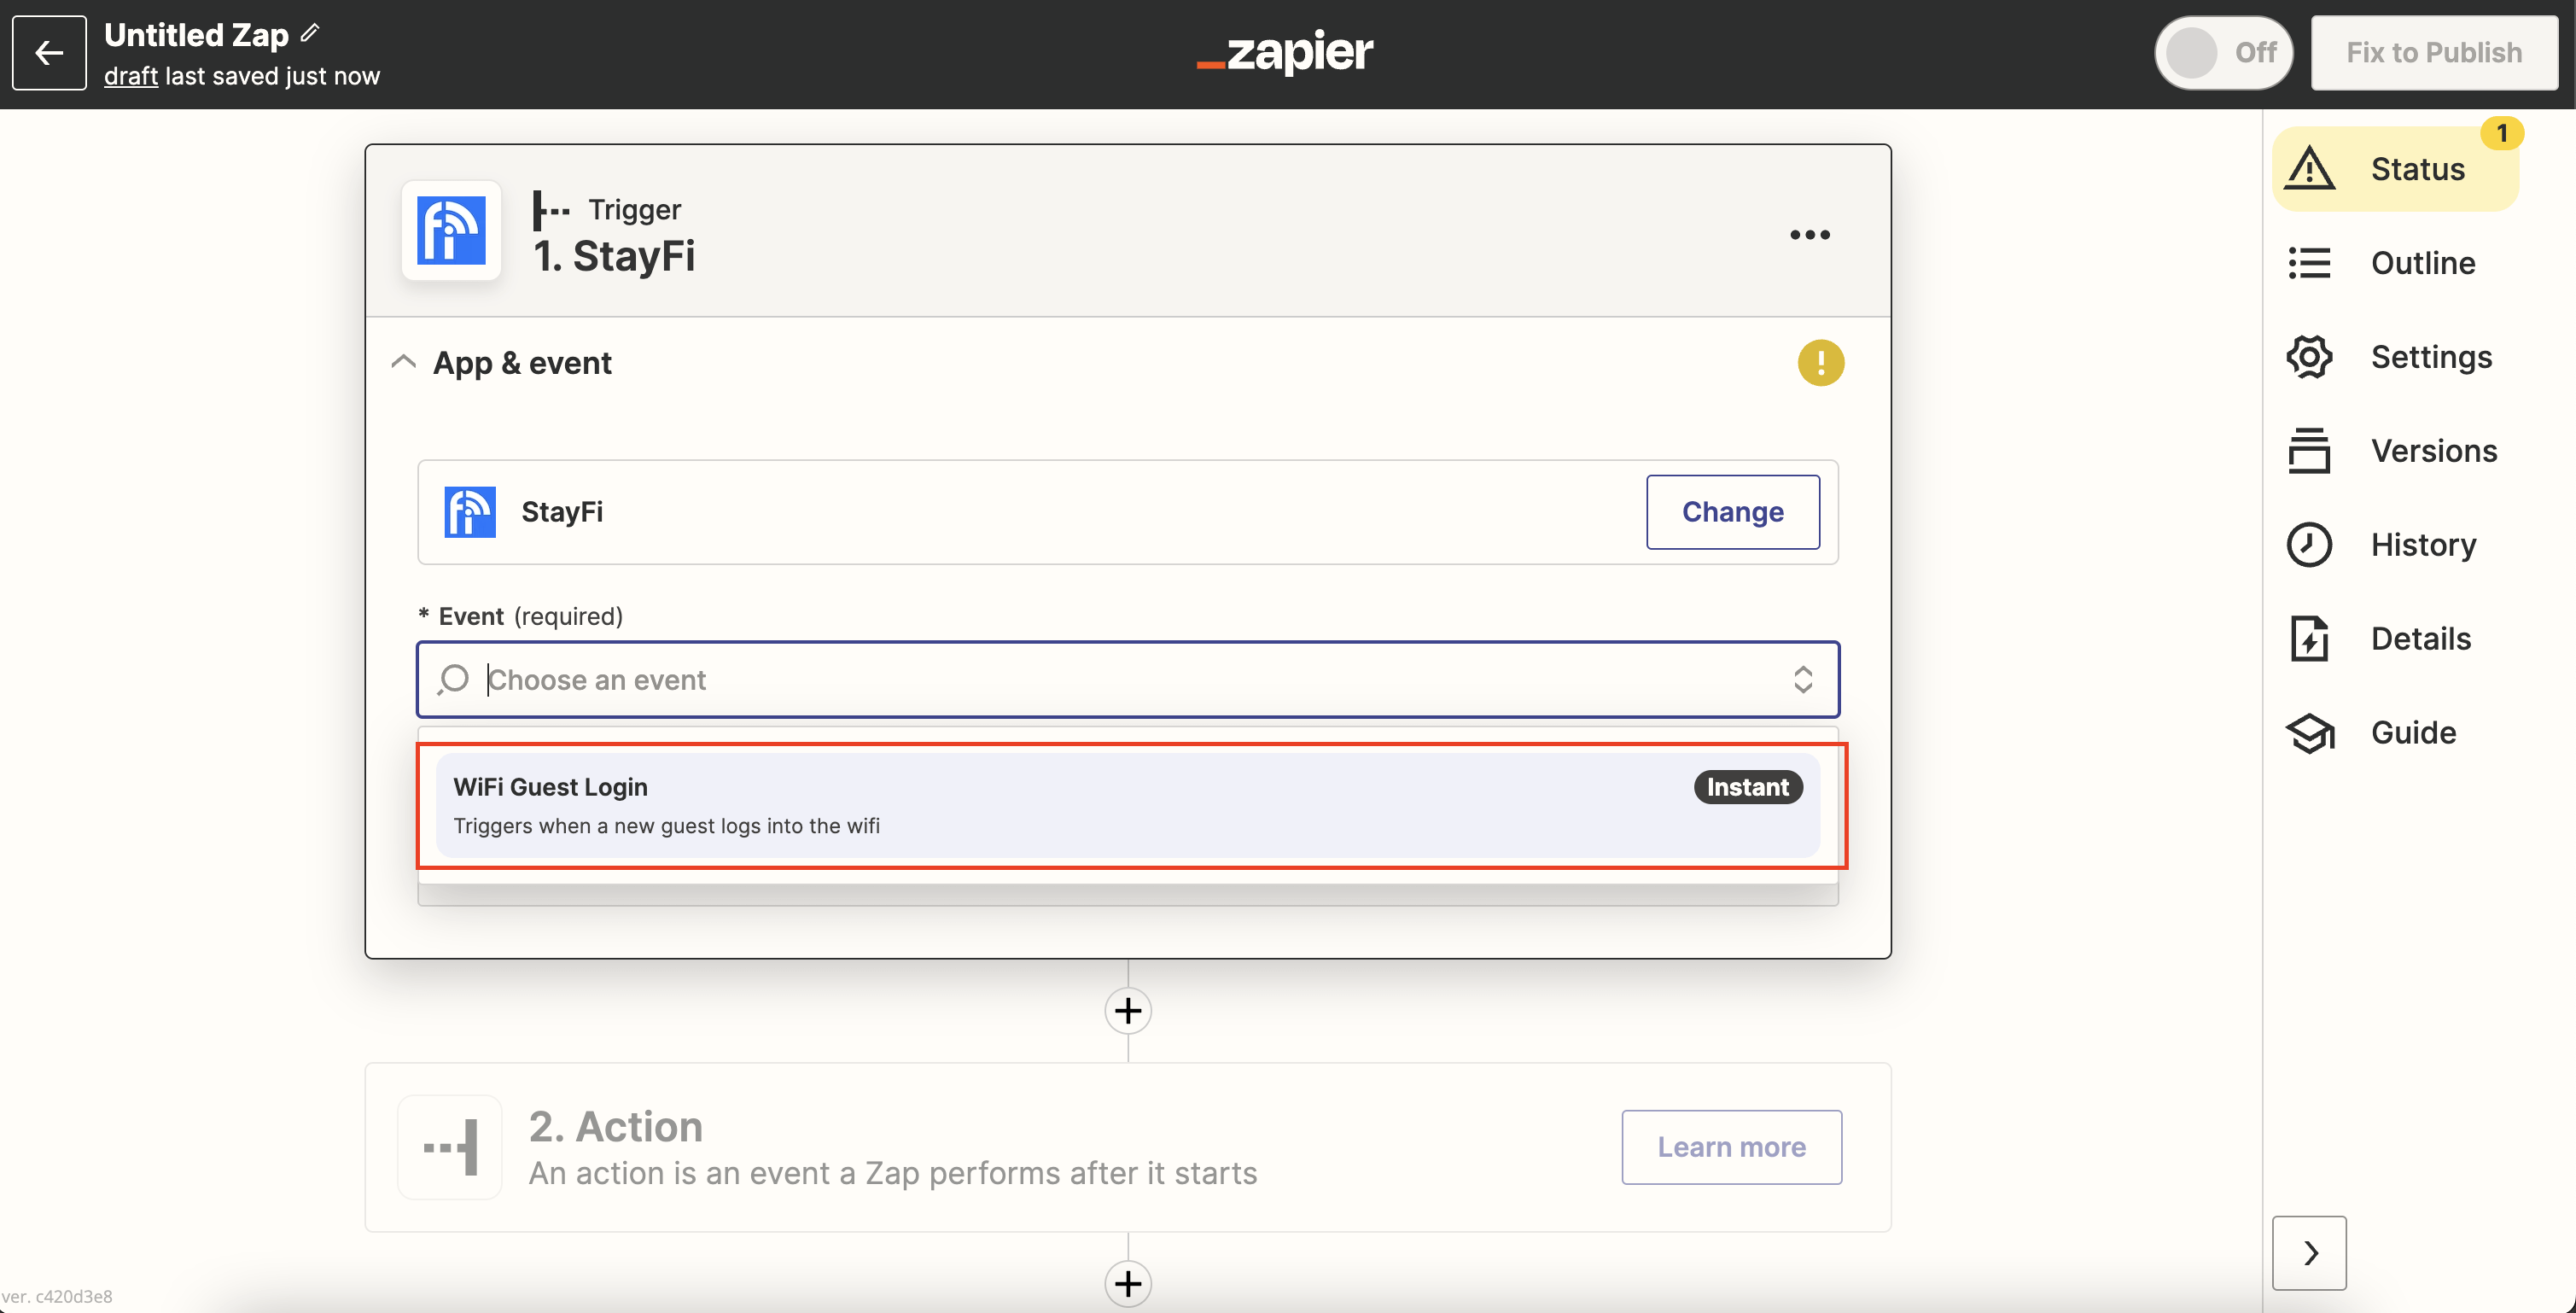
3. Select "WiFi Guest Login" Event
Zapier will ask you to pick an event for this Zap. Select the "WiFi Guest Login" event from the dropdown.
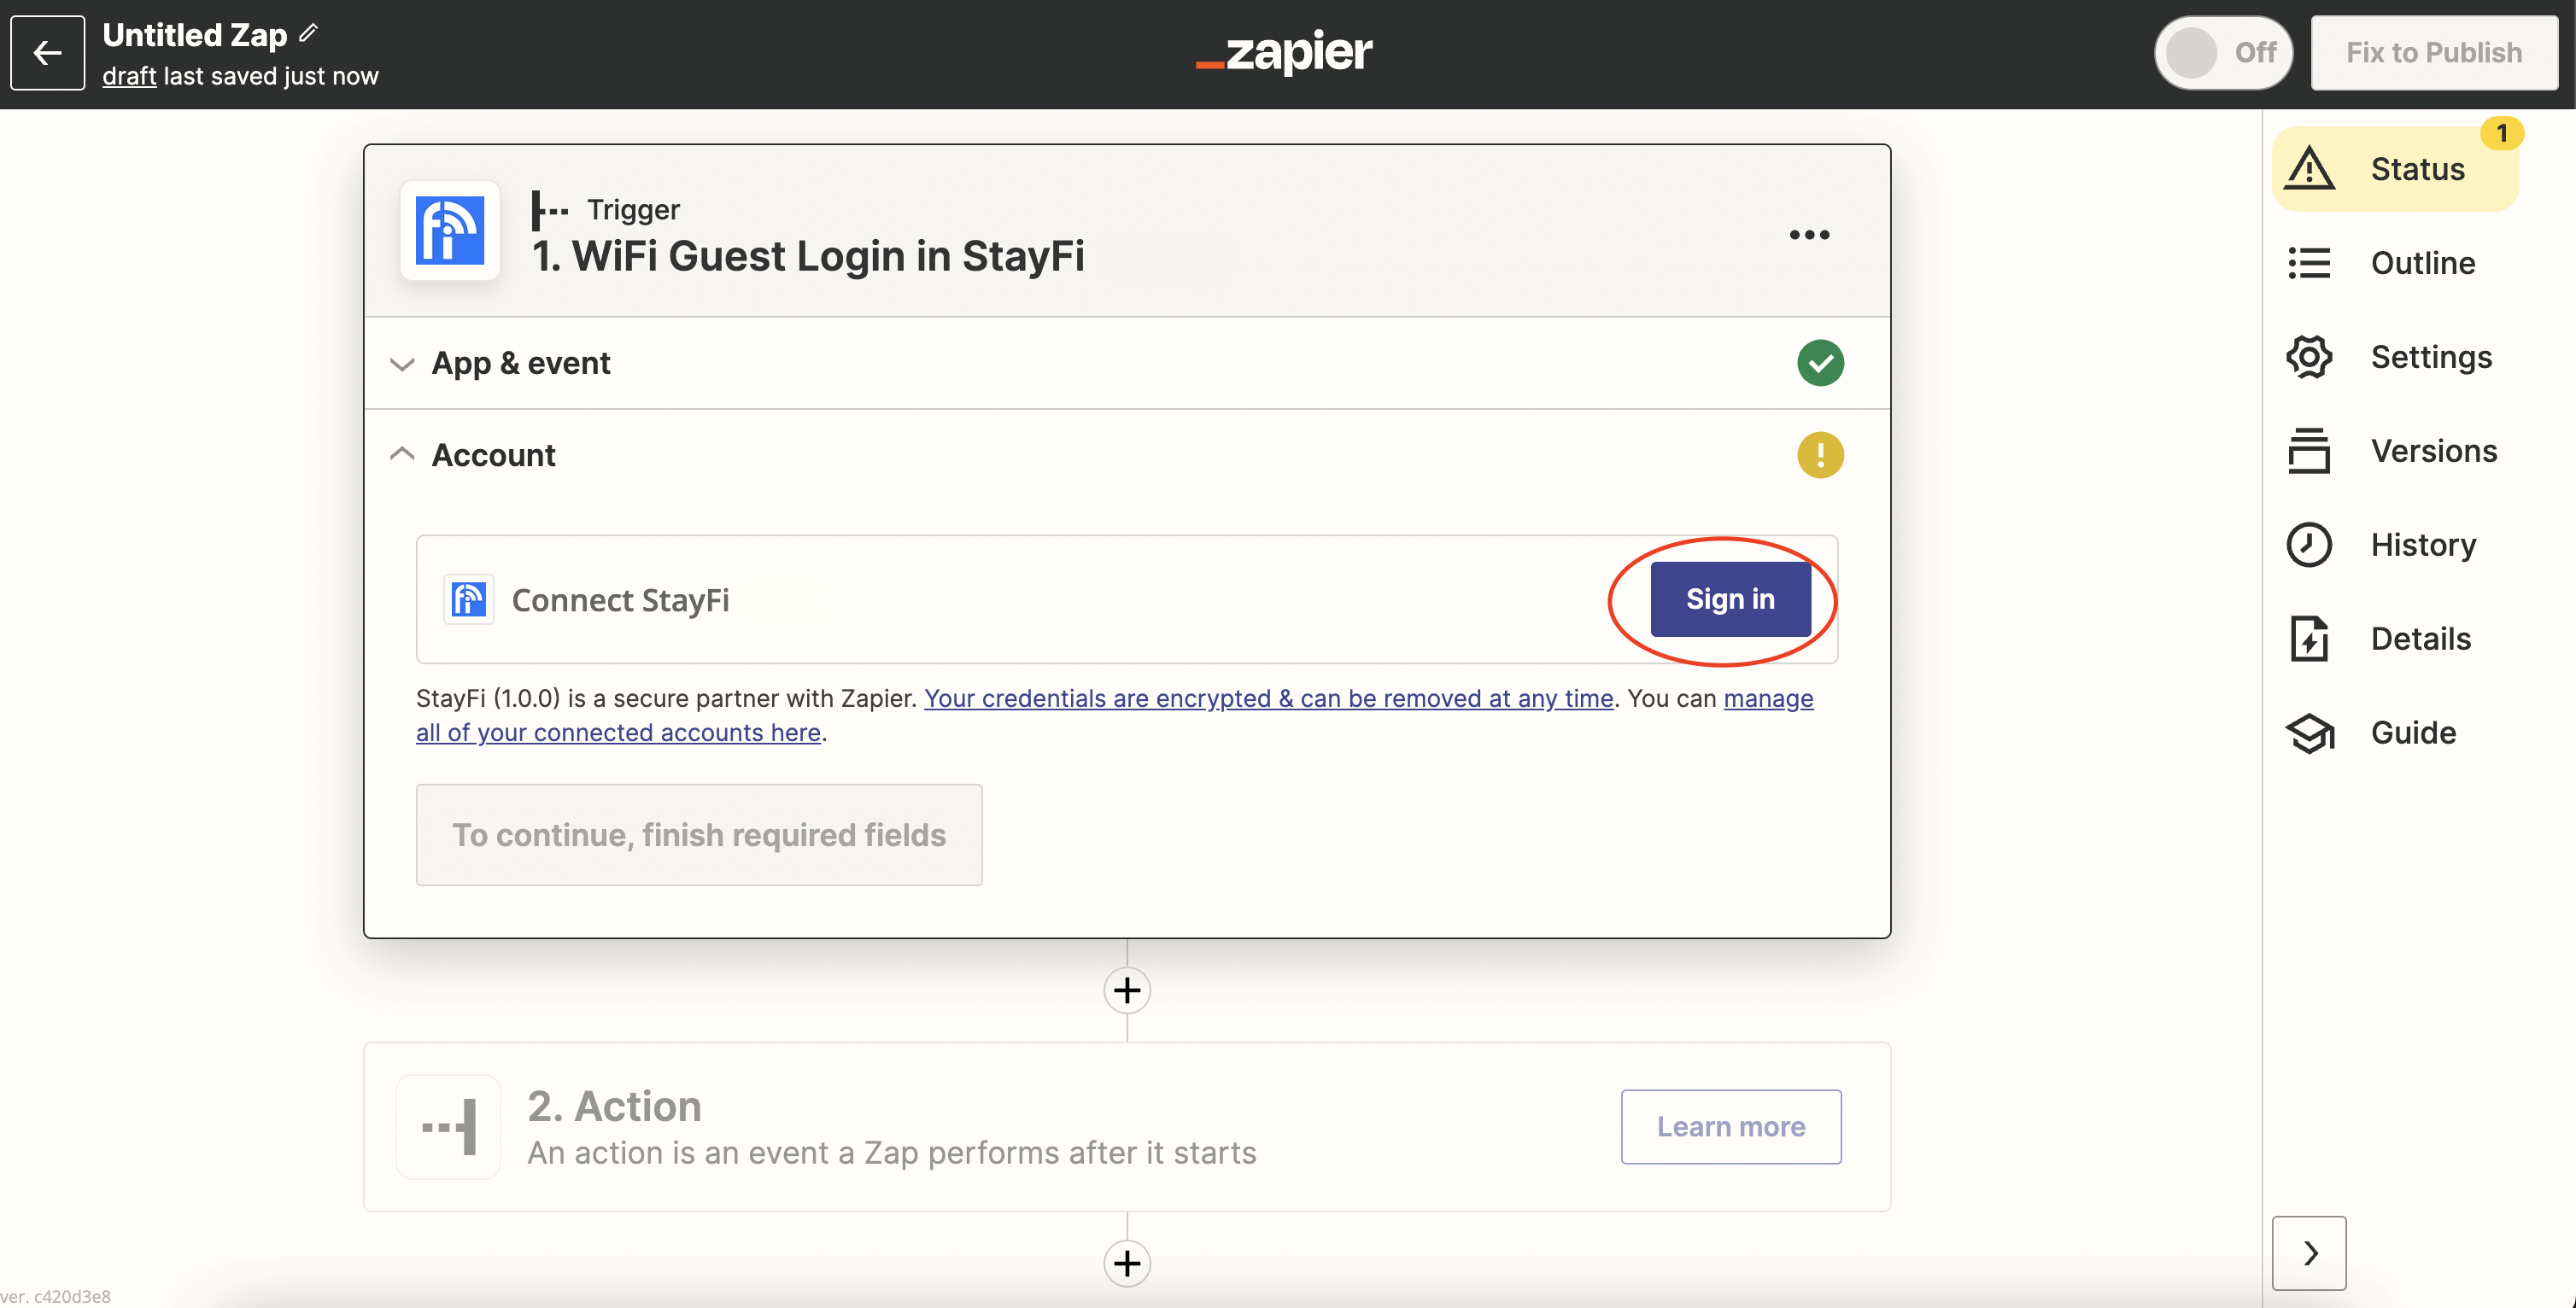
4. Sign In to StayFi
To connect Zapier to your StayFi account, click the "Sign In" button that appears in the next step.
5. Generate Your API Key
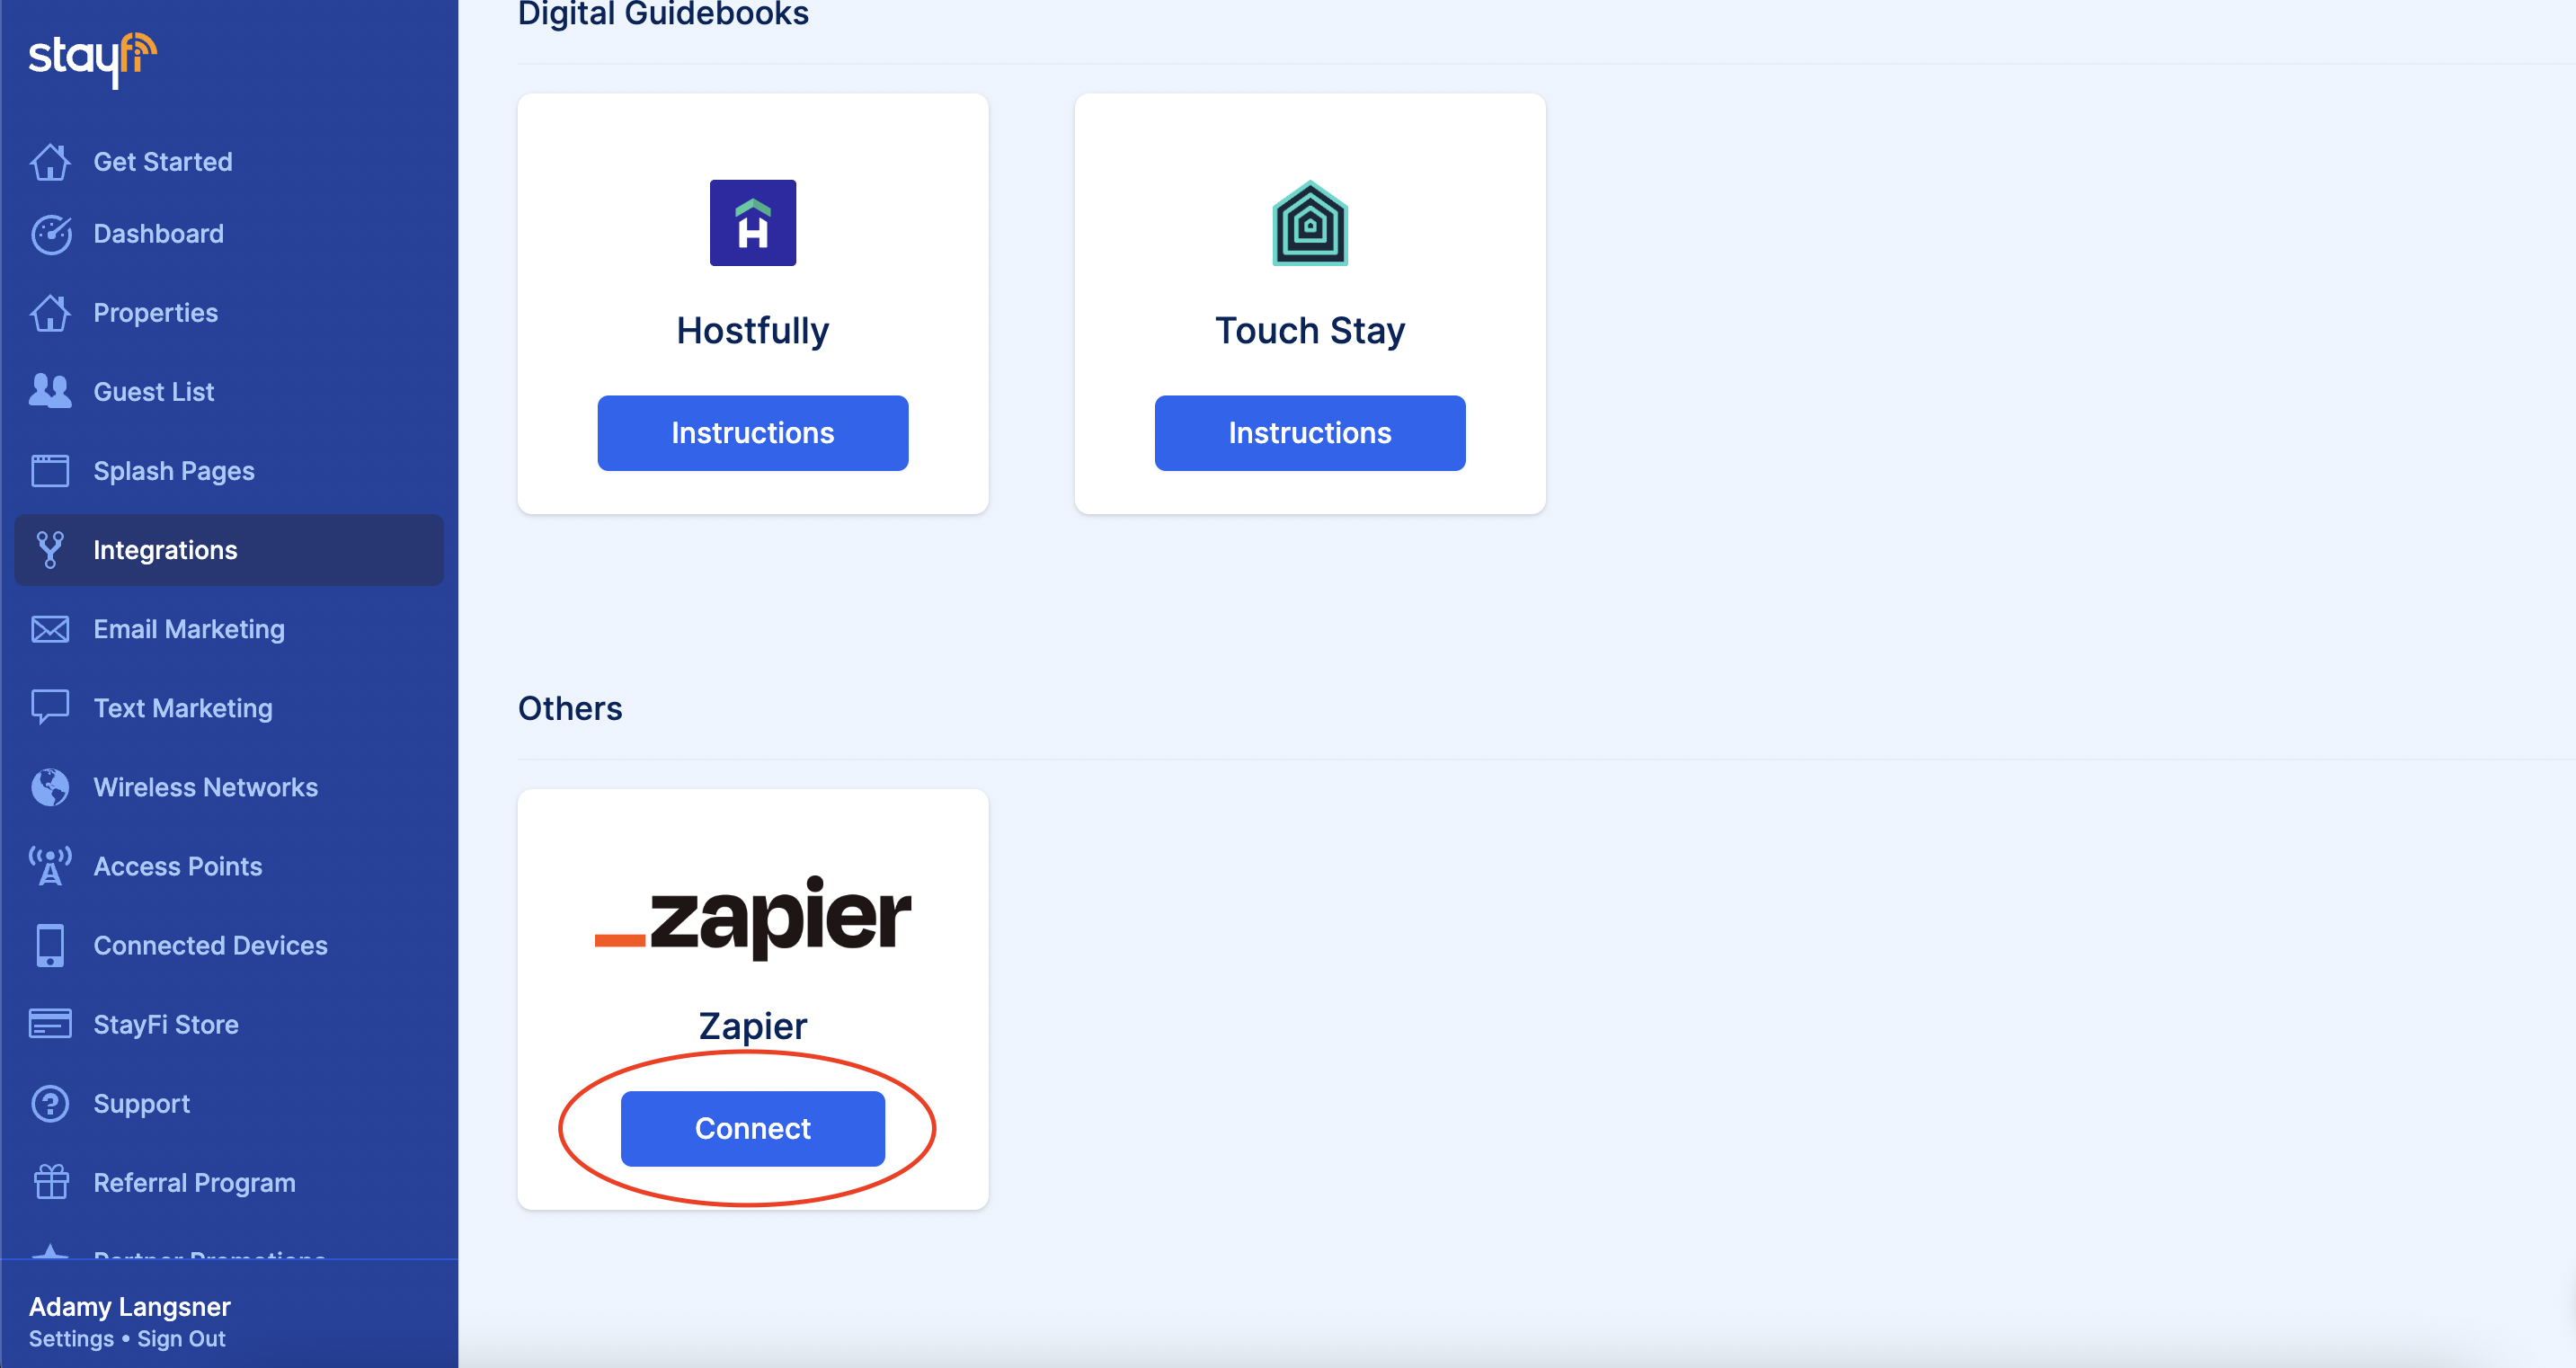
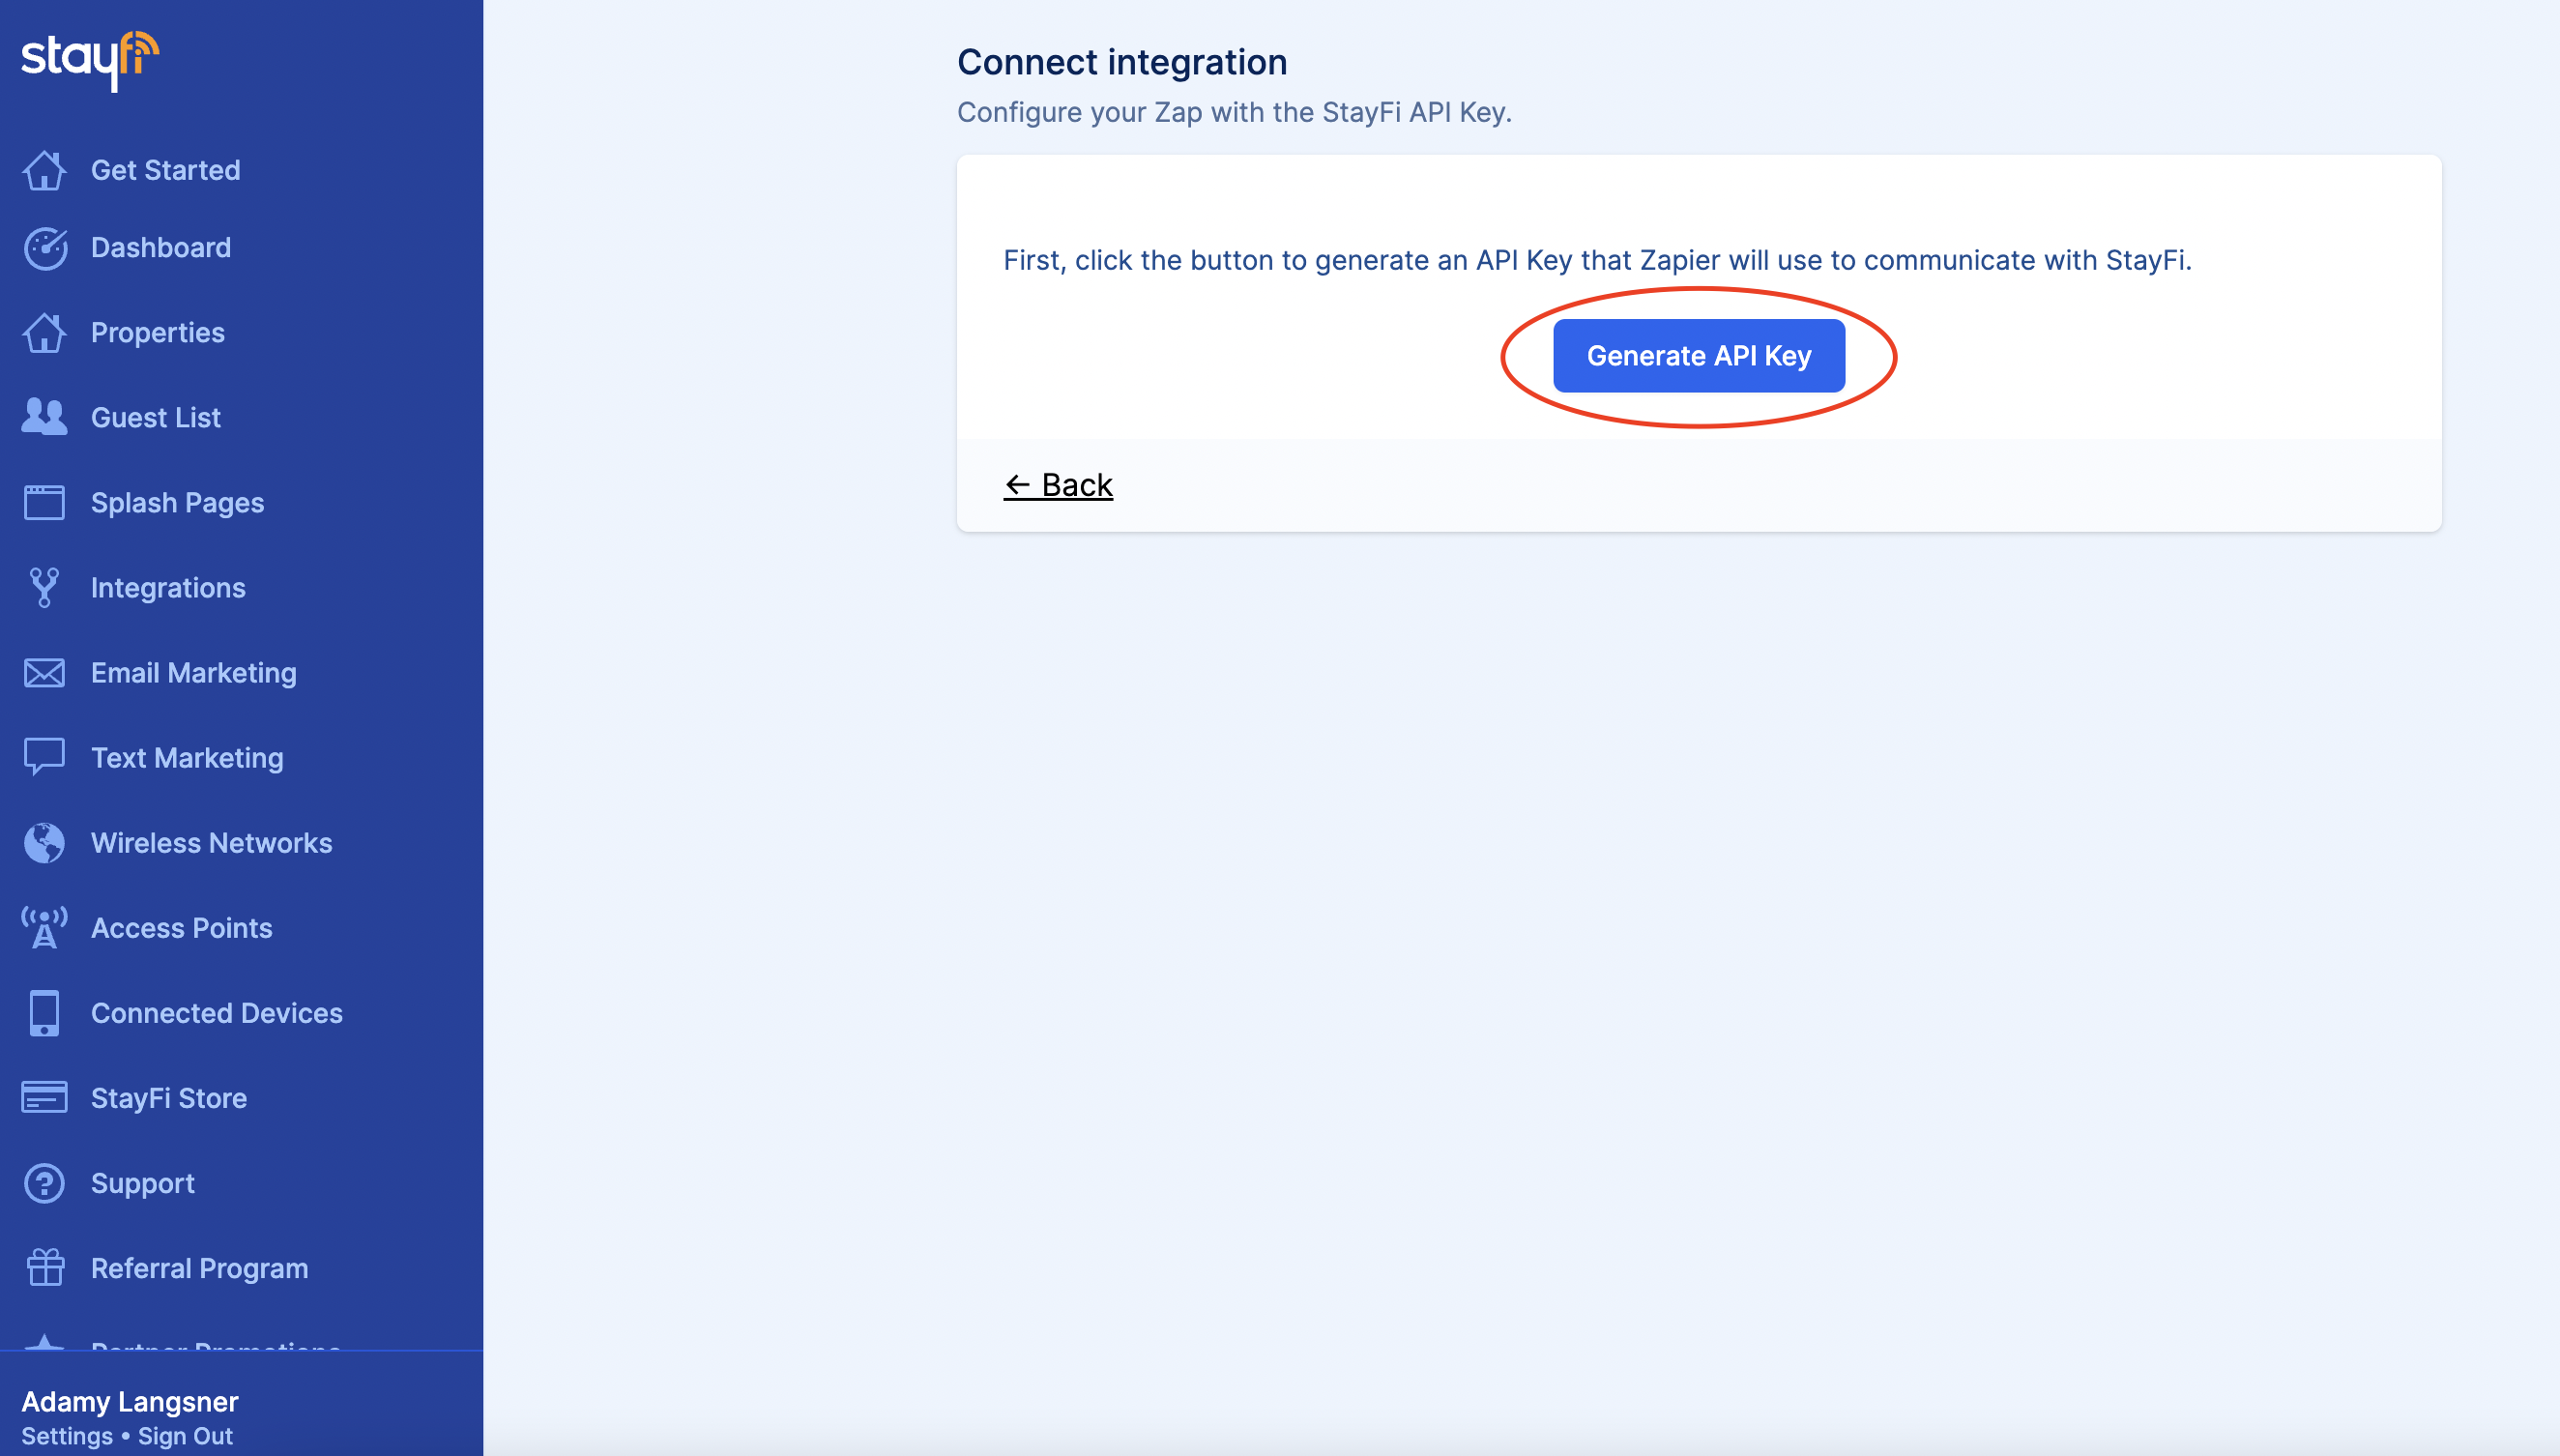
In your StayFi account, go to the "Integrations" page and scroll down until you see Zapier. Click "Connect" and then on the next page, click "Generate API Key"
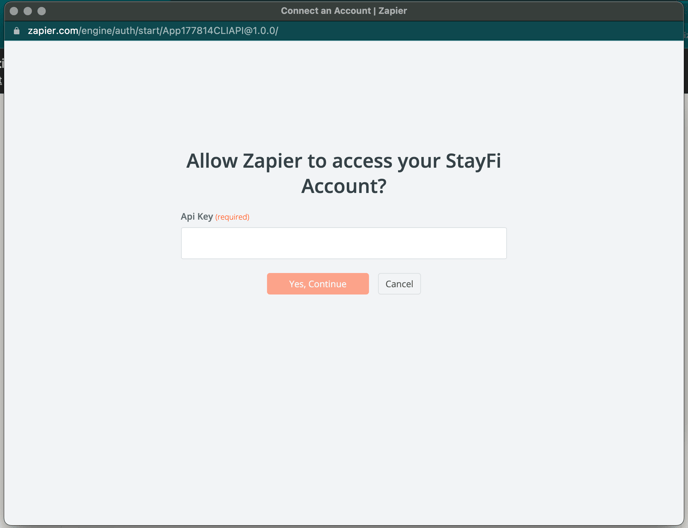
6. Paste Your API Key Into Zapier
Once you generate your API key, copy and paste it into the Zapier connection form:
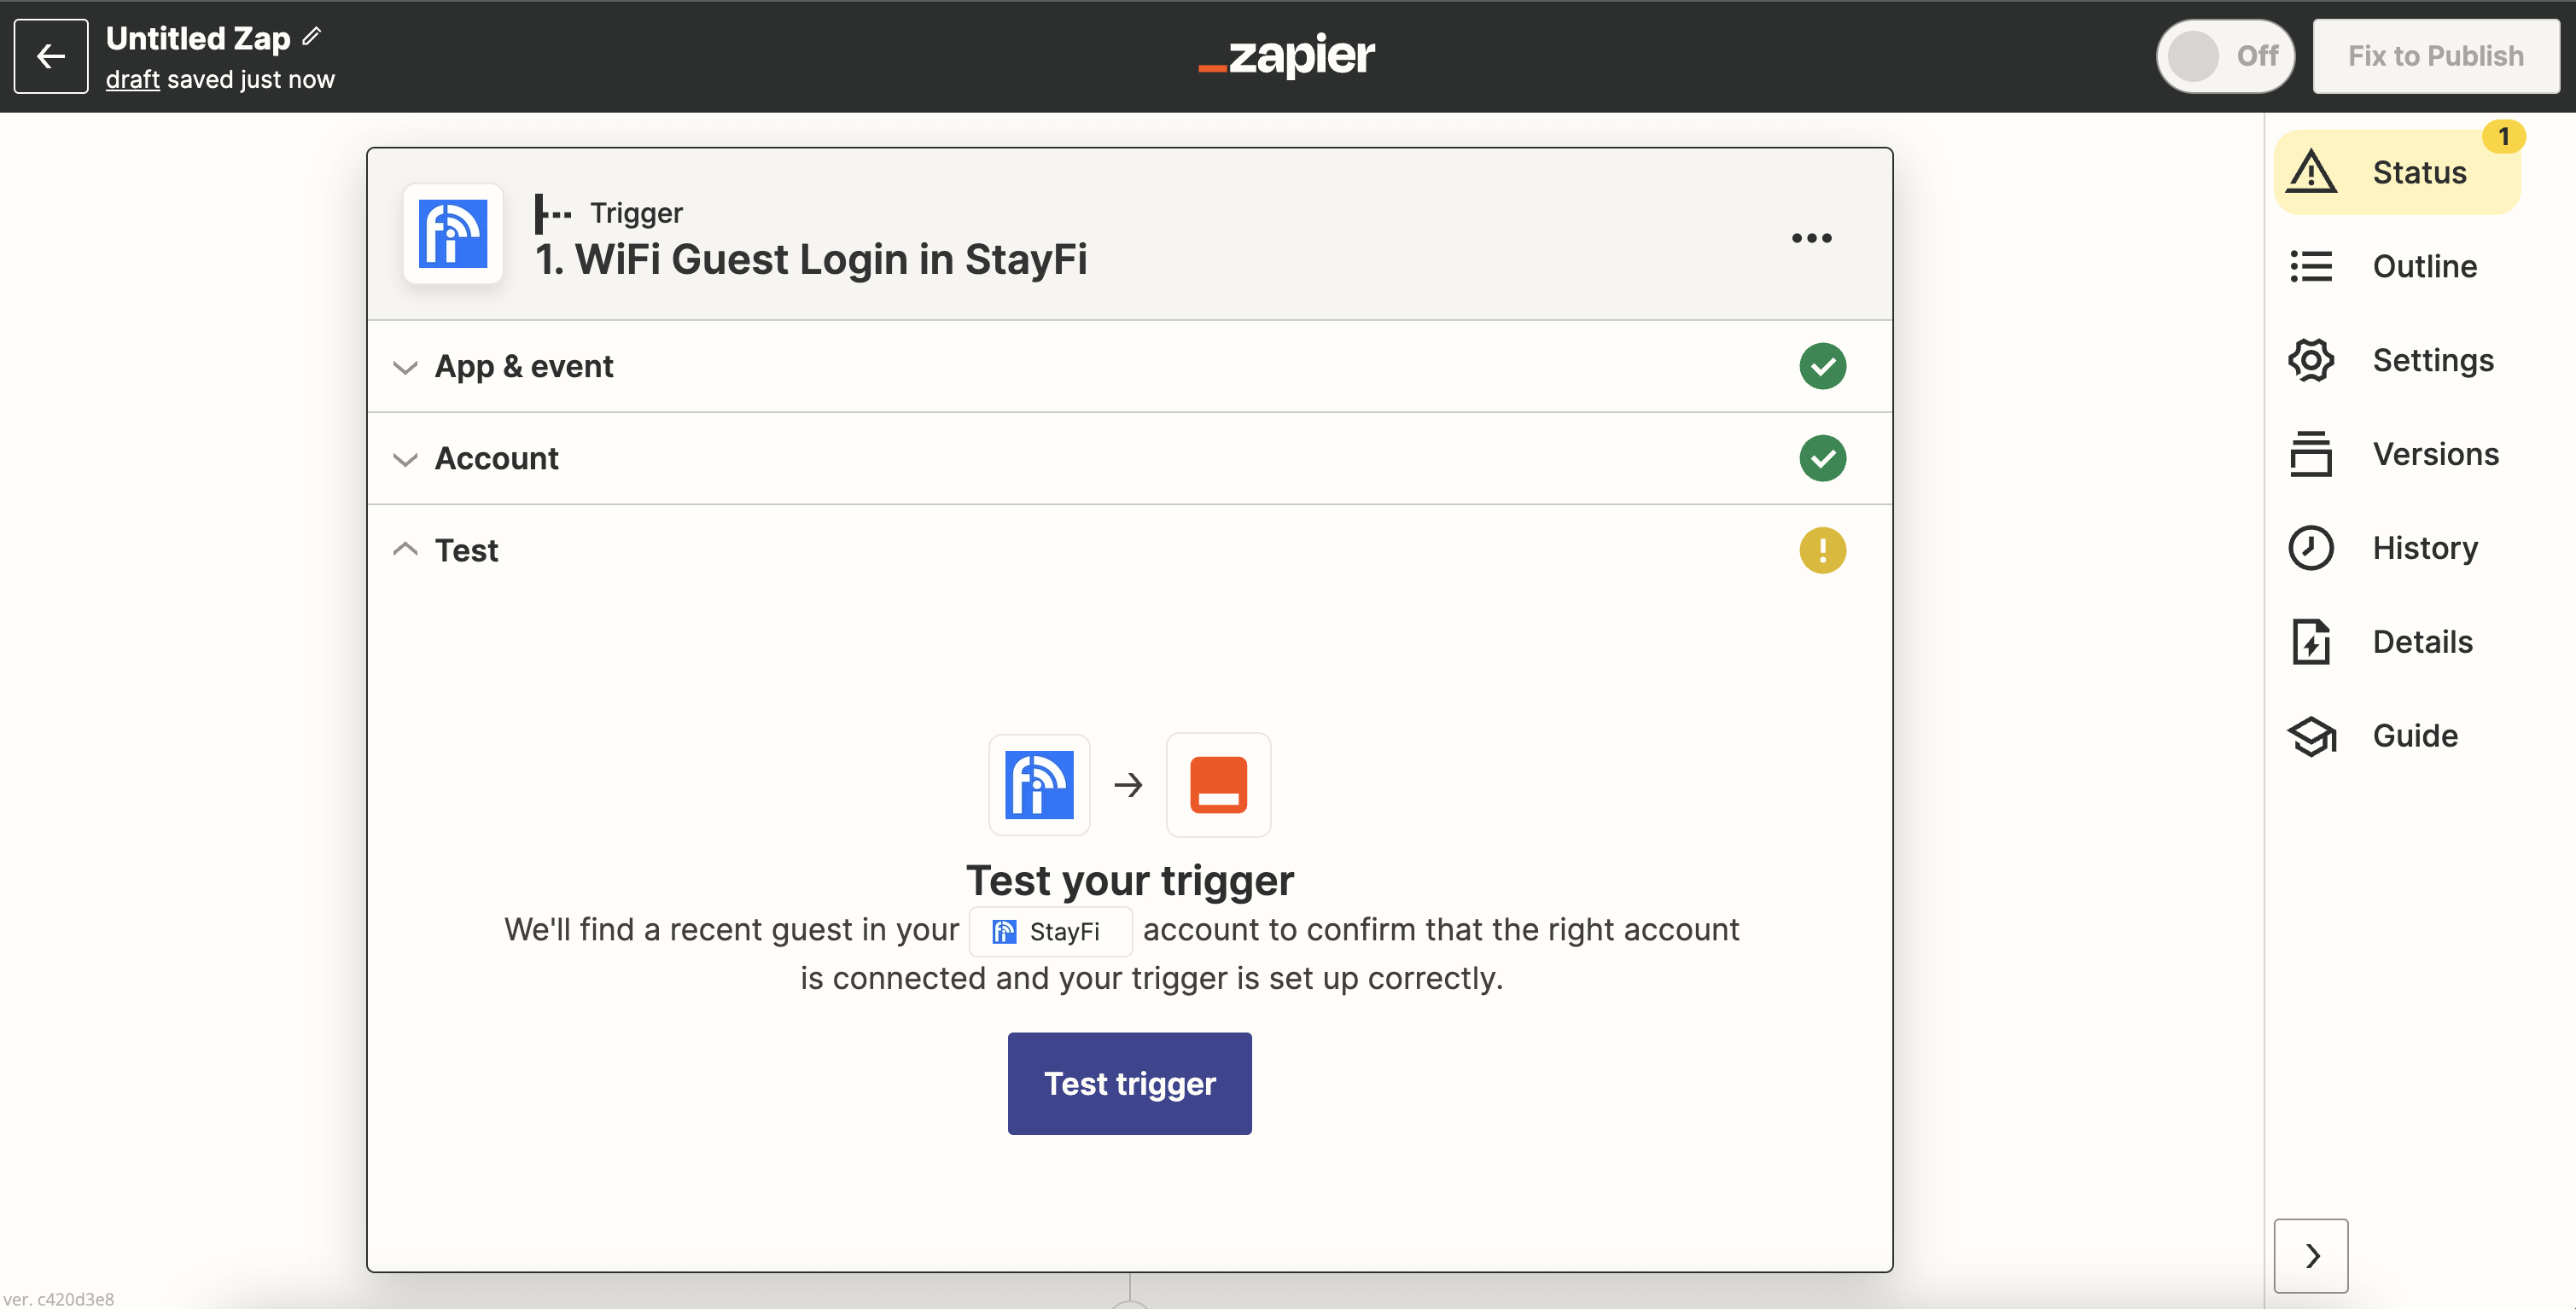
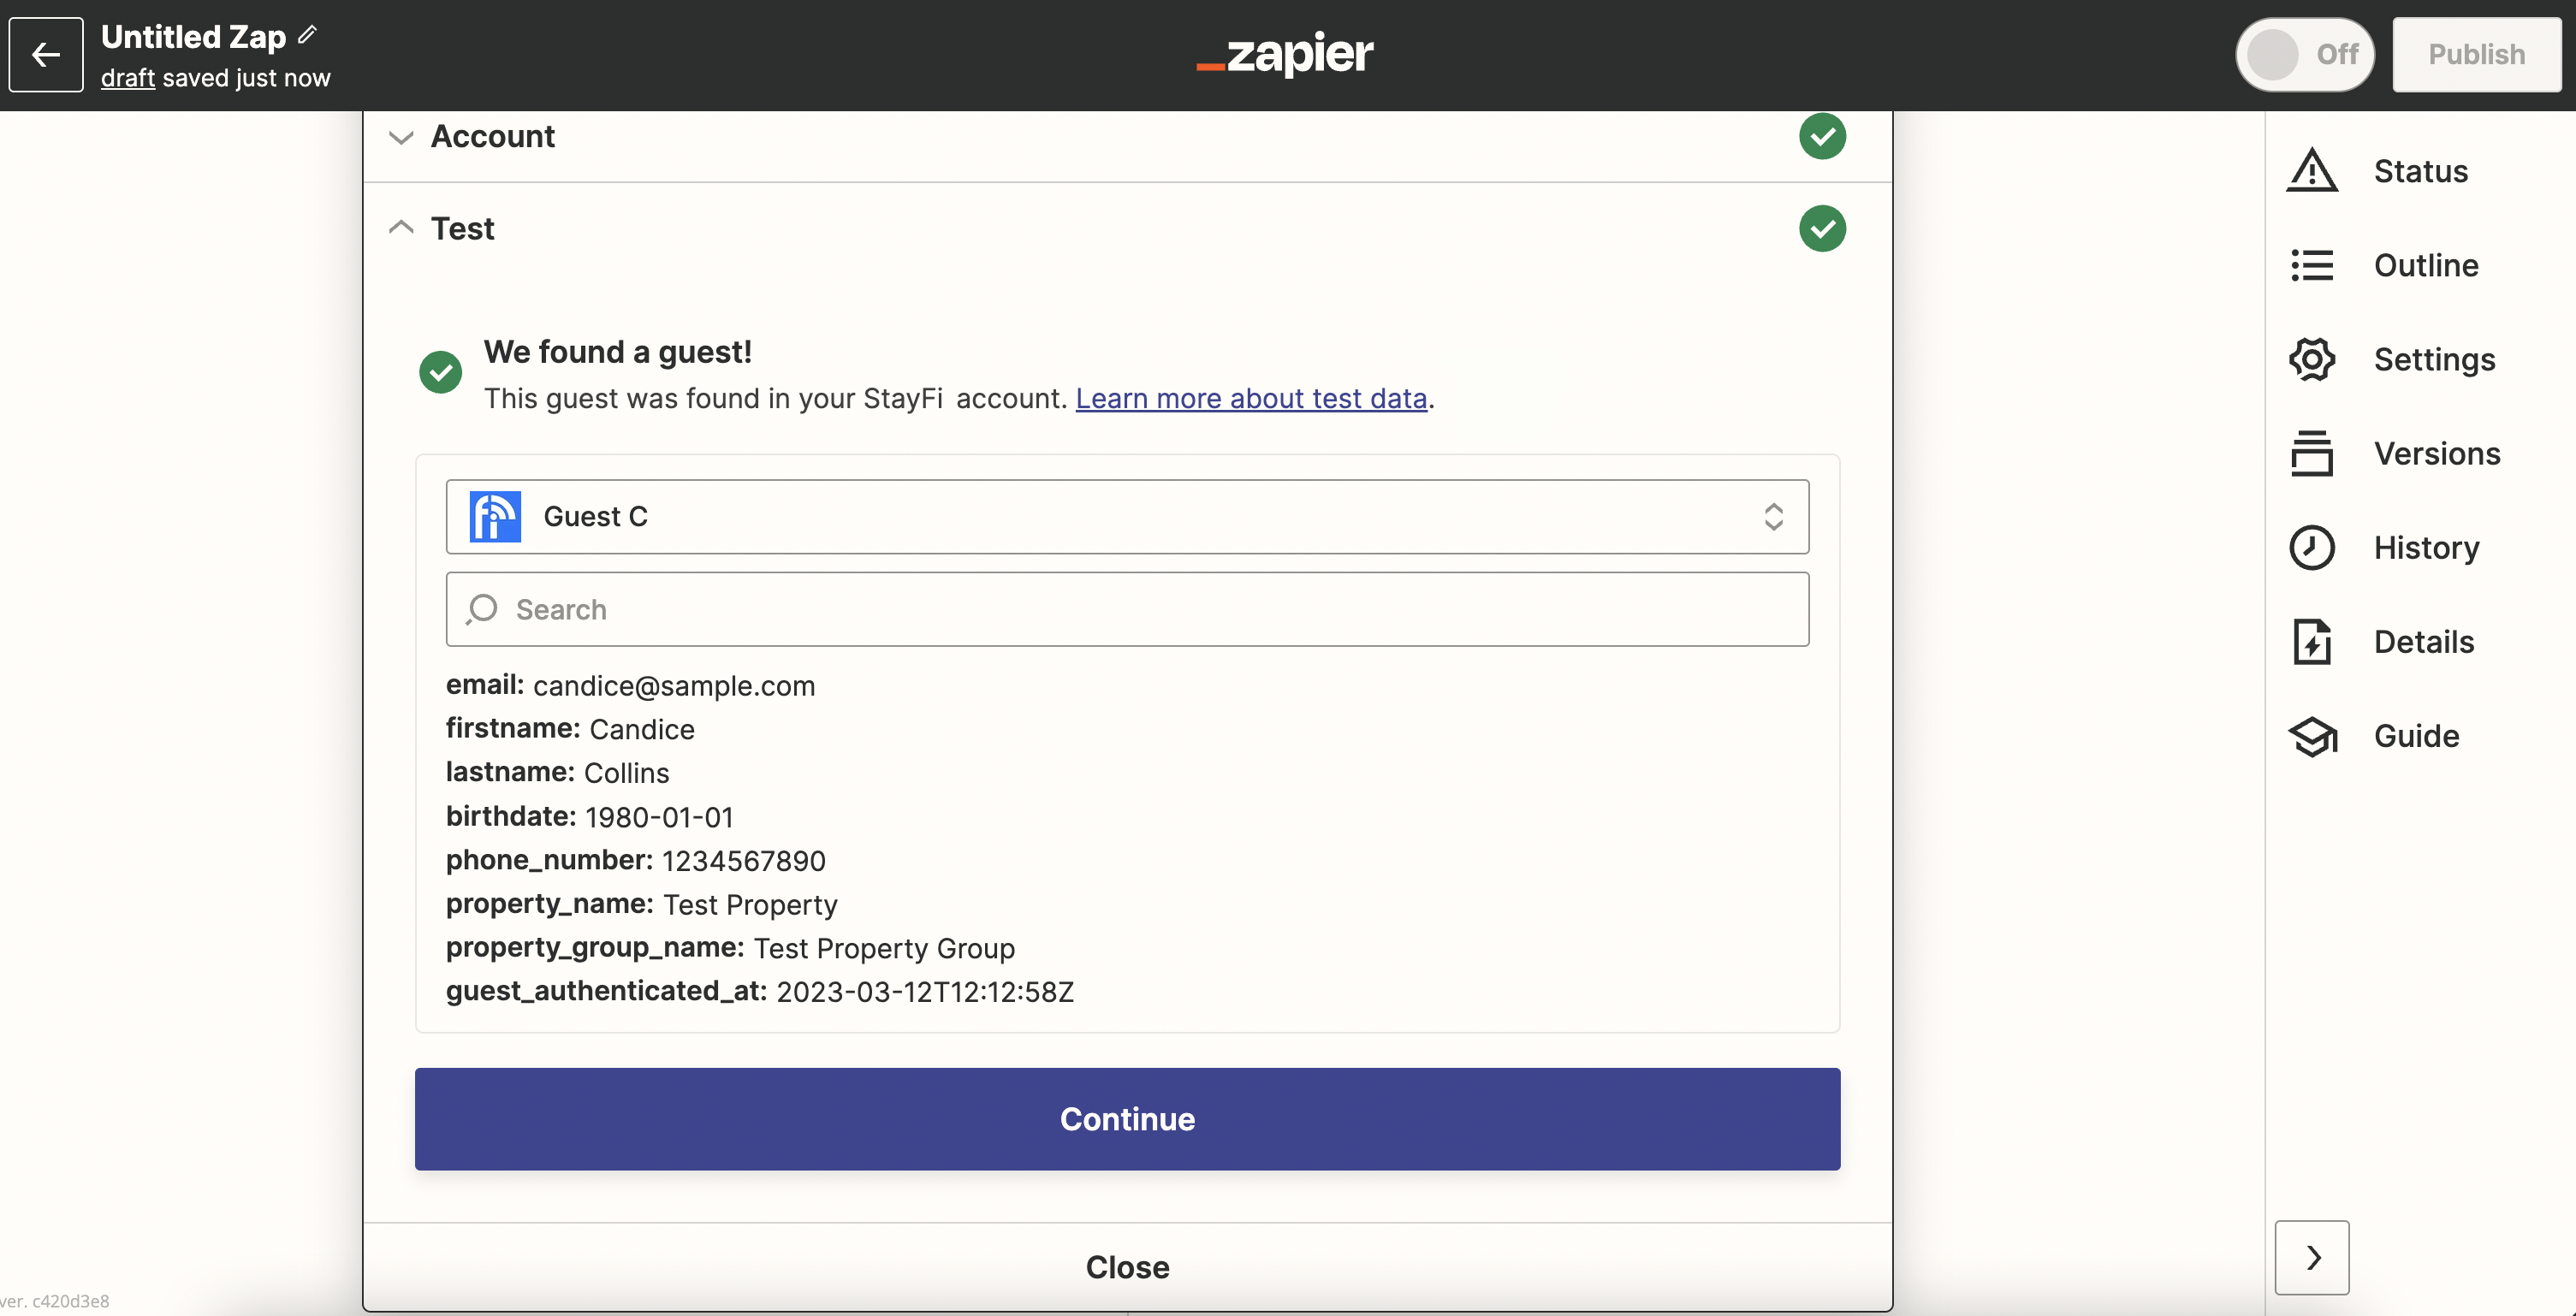
7. Test the Trigger
Once connected, click the "Test Trigger" button to test the connection was set up correctly.
8. Continue Setting up Zap
Use the provided test data to continue with the rest of the workflow automation in Zapier.
Pushing Guest Data From StayFi to Zapier
If you are using StayFi's wifi splash pages, all guest information collected through the splash pages will be sent to Zapier. This is a great way to trigger automated workflows in other apps and services that you use in your business.
StayFi contacts will automatically push to Zapier as they are collected. Each contact pushed to Zapier will include the guest's name, email address, phone number, property, property group and date added.
![FullLogo-2019-1-e1576087441910.png]](https://hubspot.stayfi.com/hs-fs/hubfs/FullLogo-2019-1-e1576087441910.png?height=50&name=FullLogo-2019-1-e1576087441910.png)